Do you want to take your photos to the next level? Do you want to learn how to edit your photos like a professional photographer? If so, you’ve come to the right place. In this article, I’ll show you how to use the best photo editing software to transform your photos from ordinary to extraordinary.
How to Edit Your Photos Like a Pro with the Best Photo Editing Software
Whether you want to enhance the colors, fix the exposure, remove unwanted objects, or add some creative effects, you’ll find everything you need in this guide.
What is the best photo editing software?
Before we dive into the editing process, let’s talk about the best photo editing software you can use. There are many options available, but not all of them are created equal. Some are more suitable for beginners, while others are more advanced and offer more features. Some are free, while others require a subscription or a one-time purchase.
To help you choose the best photo editing software for your needs, here are some of the most popular and widely used programs:
- Photo Editor App: This is a simple and intuitive app that you can use on your smartphone or tablet. It allows you to edit your photos on the go, with filters, presets, adjustments, and tools. You can also share your photos directly from the app to social media platforms. Some of the best photo editor apps are VSCO, Snapseed, and Afterlight.
- Adobe Lightroom: This is one of the most powerful and versatile photo editing programs available. It is designed for professional photographers who want to organize, edit, and export their photos in a fast and efficient way. It offers a wide range of tools and settings to adjust every aspect of your photos, from exposure and color to noise and sharpness. You can also use presets and profiles to apply different styles and effects to your photos. Adobe Lightroom is available as a desktop program or a mobile app, and it requires a monthly or yearly subscription.
- Adobe Photoshop: This is another industry-standard photo editing program that offers more advanced and creative features than Lightroom. It allows you to manipulate your photos in any way you can imagine, from retouching and removing objects to adding layers and masks. You can also use Photoshop to create graphics, logos, illustrations, and animations. Photoshop is mainly a desktop program, but there is also a simplified version for mobile devices. Like Lightroom, it requires a subscription.
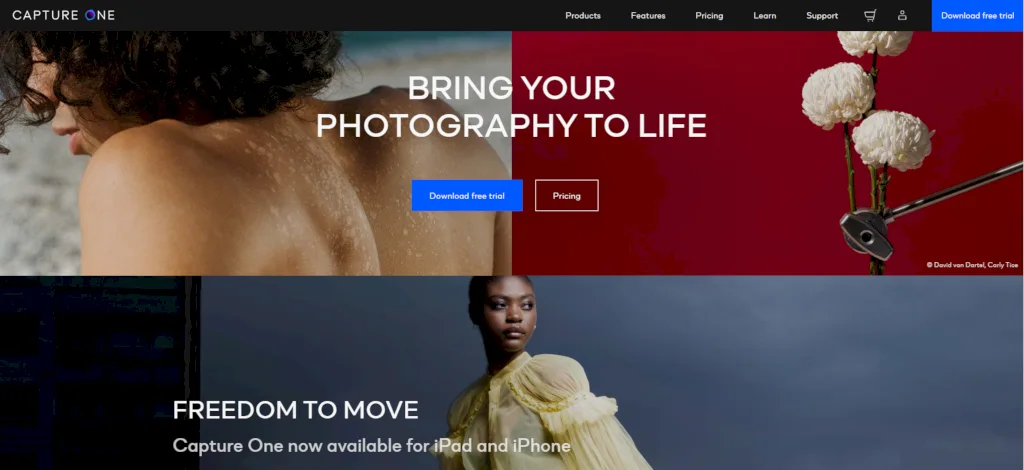
- Capture One Pro: This is a high-end photo editing program that is preferred by many professional photographers who shoot in raw format. It offers superior image quality and performance, as well as more precise and customizable tools and settings. It also has a powerful tethering feature that lets you control your camera from your computer and see the results instantly on your screen. Capture One Pro is a desktop program that requires a one-time purchase or a subscription.
- Luminar: This is a newer photo editing program that aims to make photo editing easy and fun. It uses artificial intelligence and machine learning to analyze your photos and apply smart adjustments and enhancements. It also has a unique feature called Sky Replacement that lets you change the sky in your photos with realistic results. Luminar is a desktop program that requires a one-time purchase.
How to edit your photos like a pro
Now that you have chosen your photo editing software, it’s time to start editing your photos like a pro. Here are some essential steps that you should follow for most of your photos:
1. Crop and straighten your image
The first step to editing your image is to crop and straighten it. This can help you improve the composition of your photo, remove unwanted distractions, or change the aspect ratio for different purposes.
To crop your image, you can use the crop tool in your photo editing software and drag the corners or sides of the frame until you are happy with the result. You can also choose from different preset ratios or enter custom dimensions.
To straighten your image, you can use the straighten tool or the rotate tool in your photo editing software and adjust the angle of your image until it is level. You can also use the grid or guides to help you align your image with the horizon or other elements.
2. Adjust the exposure
The next step to editing your image is to adjust the exposure. This can help you fix any issues with brightness or darkness in your photo, or create different moods and effects.
To adjust the exposure, you can use different tools and settings in your photo editing software, such as:
- Exposure: This controls the overall brightness or darkness of your image.
- Highlights: This controls the brightness of the brightest areas of your image.
- Shadows: This controls the brightness of the darkest areas of your image.
- Whites: This controls where the white point of your image is set.
- Blacks: This controls where the black point of your image is set.
- Contrast: This controls the difference between the bright and dark areas of your image.
You can use sliders or curves to adjust these settings until you achieve the desired result. You can also use the histogram to help you see the distribution of tones in your image and avoid clipping or losing details in the highlights or shadows.
3. Adjust the color
The next step to editing your image is to adjust the color. This can help you enhance or change the colors in your photo, or correct any color casts or inaccuracies.
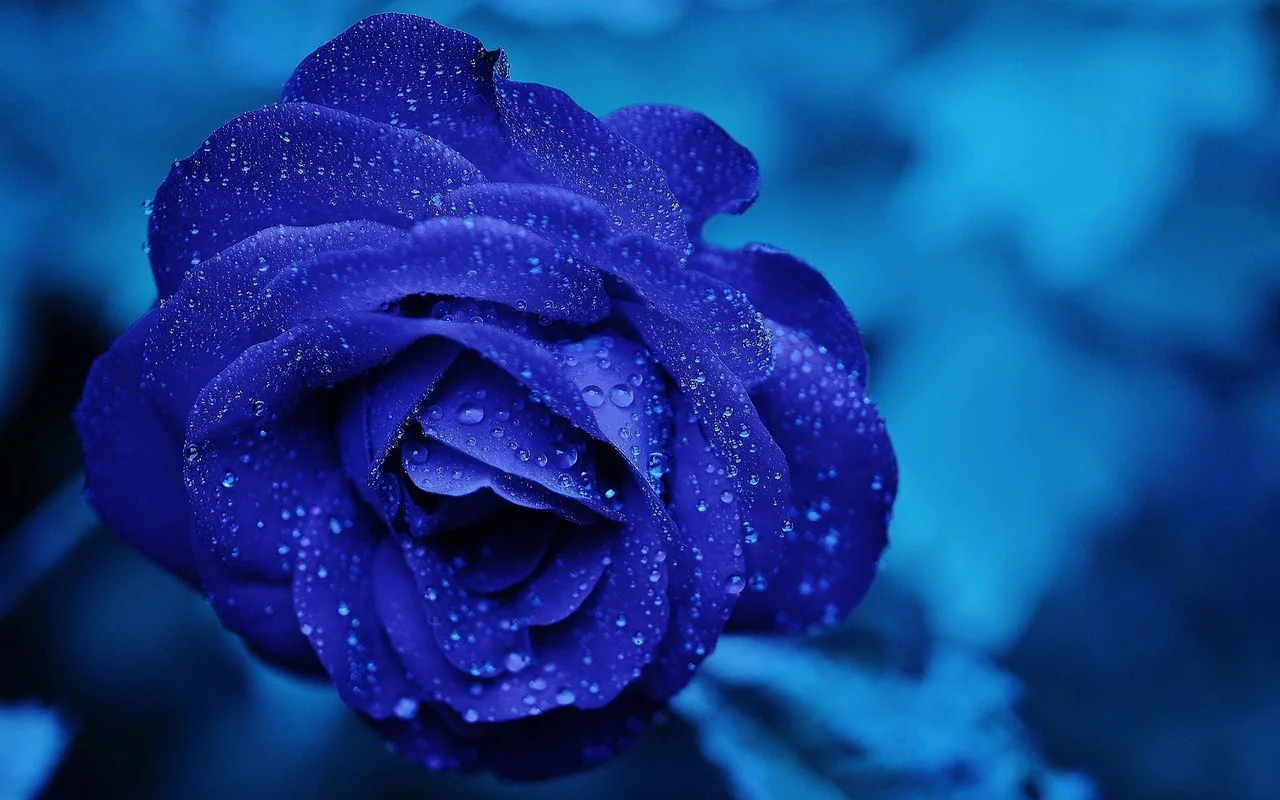
To adjust the color, you can use different tools and settings in your photo editing software, such as:
- White Balance: This controls the overall color temperature and tint of your image. You can use presets or sliders to adjust the white balance until it looks natural or matches your vision.
- Vibrance: This controls the intensity of the colors in your image, especially the muted ones.
- Saturation: This controls the intensity of all the colors in your image, regardless of their original strength.
- HSL: This stands for Hue, Saturation, and Luminance, and it allows you to adjust each of these parameters for individual colors in your image. You can use this to fine-tune or change specific colors in your image.
- Color Grading: This allows you to apply different colors to different tonal regions of your image, such as shadows, midtones, and highlights. You can use this to create different moods and effects in your image.
You can use sliders or wheels to adjust these settings until you achieve the desired result. You can also use the eyedropper tool to help you select a neutral or target color in your image and adjust the white balance accordingly.
4. Remove spots and clutter
The next step to editing your image is to remove any spots, blemishes, dust, or unwanted objects from your image. This can help you clean up your image and make it more appealing and professional.
To remove spots and clutter, you can use different tools in your photo editing software, such as:
- Spot Removal: This allows you to select a spot or blemish on your image and replace it with a nearby area that matches the texture and color.
- Healing Brush: This allows you to paint over a spot or blemish on your image and blend it with the surrounding area.
- Clone Stamp: This allows you to copy a part of your image and paste it over another part of your image. You can use this to cover up unwanted objects or duplicate desired ones.
- Content-Aware Fill: This allows you to select an area of your image and fill it with content that matches the surrounding area. You can use this to remove large or complex objects from your image.
You can use these tools with different sizes, hardness, opacity, and modes until you achieve the desired result. You can also zoom in and out of your image to see the details better and make more precise edits.
5. Sharpen your image
The final step to editing your image is to sharpen it. This can help you enhance the details and edges in your image and make it more crisp and clear.
To sharpen your image, you can use different tools and settings in your photo editing software, such as:
- Sharpening: This applies a global sharpening effect to your entire image. You can adjust the amount, radius, detail, and masking of the sharpening effect until you achieve the desired result.
- Clarity: This applies a local contrast enhancement effect to your image. It boosts the midtone contrast and makes the edges more defined.
- Dehaze: This applies a haze reduction effect to your image. It removes any fog or mist from your image and makes it more clear and vivid.
- Noise Reduction: This applies a noise reduction effect to your image. It smooths out any grain or artifacts from low-light or high-ISO conditions.
You can use sliders or brushes to adjust these settings until you achieve the desired result. You can also use the before-and-after view or the loupe tool to help you see the difference better and avoid over-sharpening or over-smoothing your image.
How to edit photos like a pro with examples
Now that you know how to edit photos like a pro with the best photo editing software, let’s see some examples of how these steps can transform different types of photos.
Example 1: Landscape photo
Here is an example of a landscape photo before and after editing:
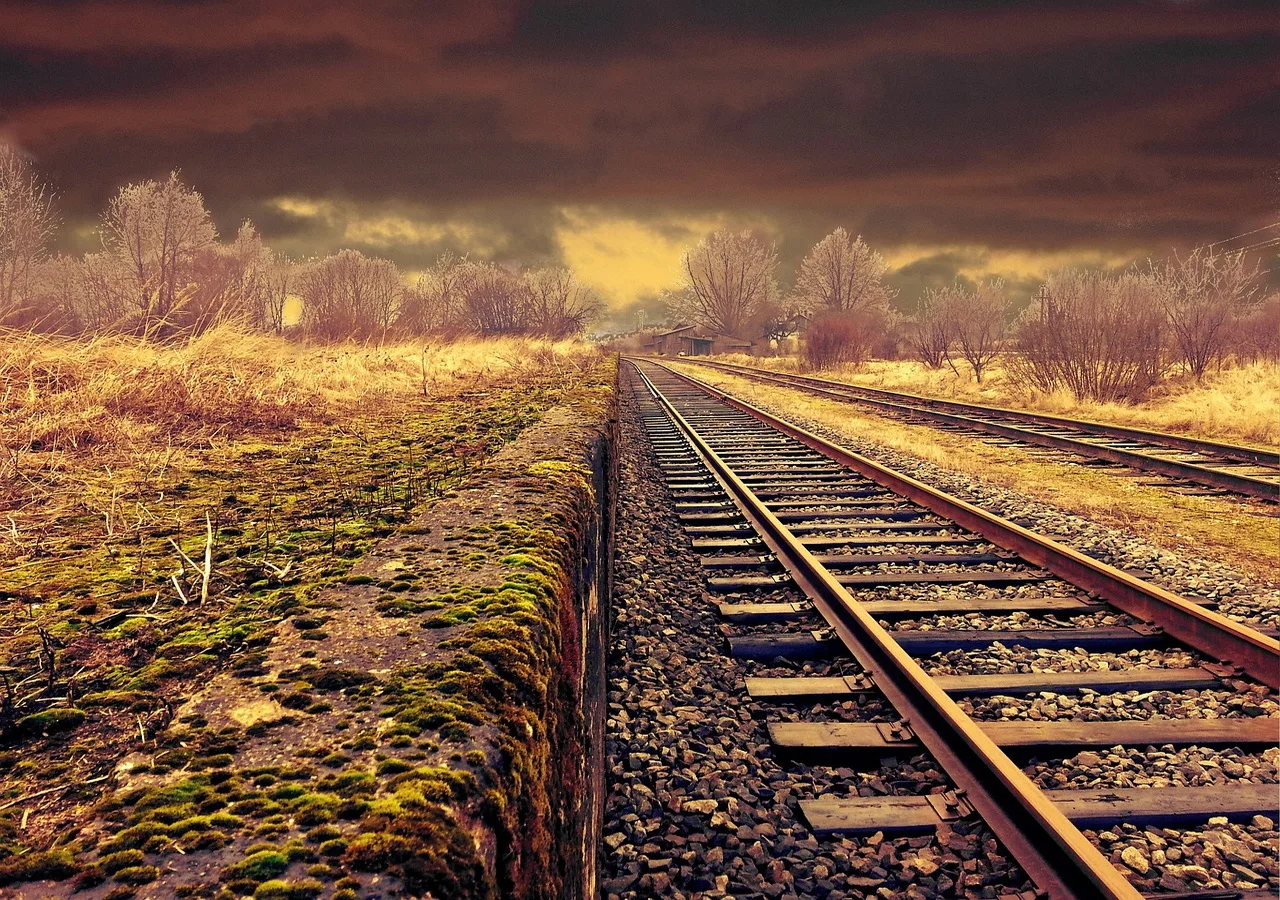
Here are some of the edits that were applied:
- Cropped and straightened the image to improve the composition and remove distractions
- djusted the exposure to brighten up the shadows and darken the highlights
- Adjusted the color to make the sky more blue and the grass more green
- Removed some spots and dust from the sky and the water
- Sharpened the image to make it more crisp and clear
Example 2: Portrait photo
Here is an example of a portrait photo before and after editing:
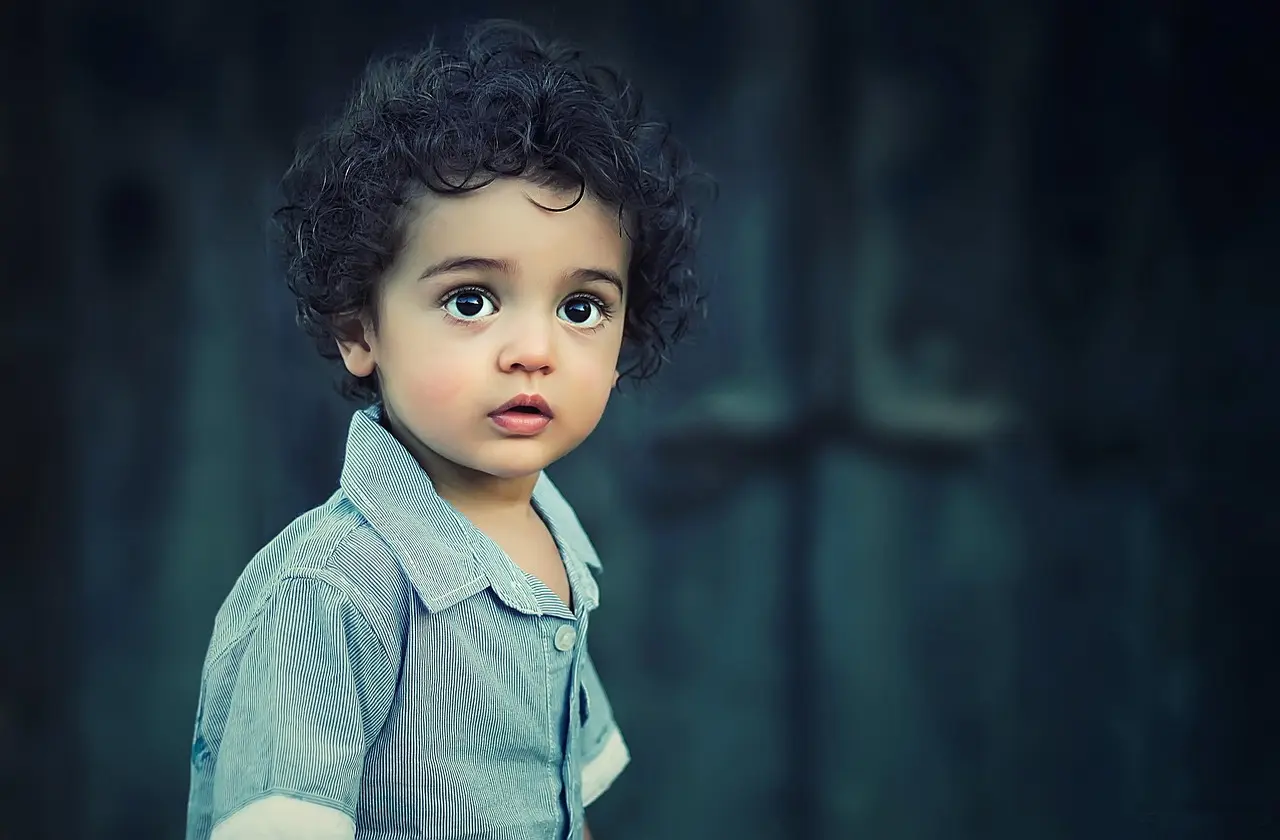
Here are some of the edits that were applied:
- Cropped and straightened the image to focus on the subject and remove distractions
- Adjusted the exposure to make the subject more visible and create a soft backlight effect
- Adjusted the color to make the skin tone more natural and the eyes more bright
- Removed some blemishes and stray hairs from the face and hair
- Sharpened the image to make it more crisp and clear
Example 3: Product photo
Here is an example of a product photo before and after editing:

Here are some of the edits that were applied:
- Cropped and straightened the image to fit the desired aspect ratio and remove distractions
- Adjusted the exposure to make the product more bright and contrasty
- Adjusted the color to make the product more vibrant and appealing
- Removed some spots and dust from the product and the background
- Sharpened the image to make it more crisp and clear
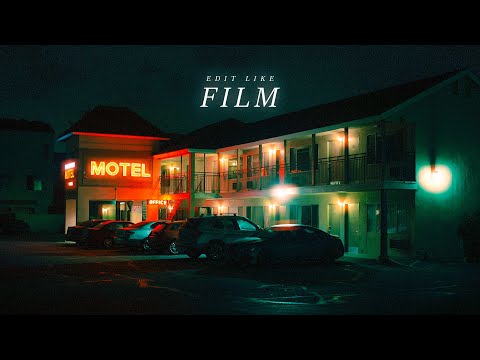
Example 4: Cinematic photo
Here is an example of a cinematic photo before and after editing:
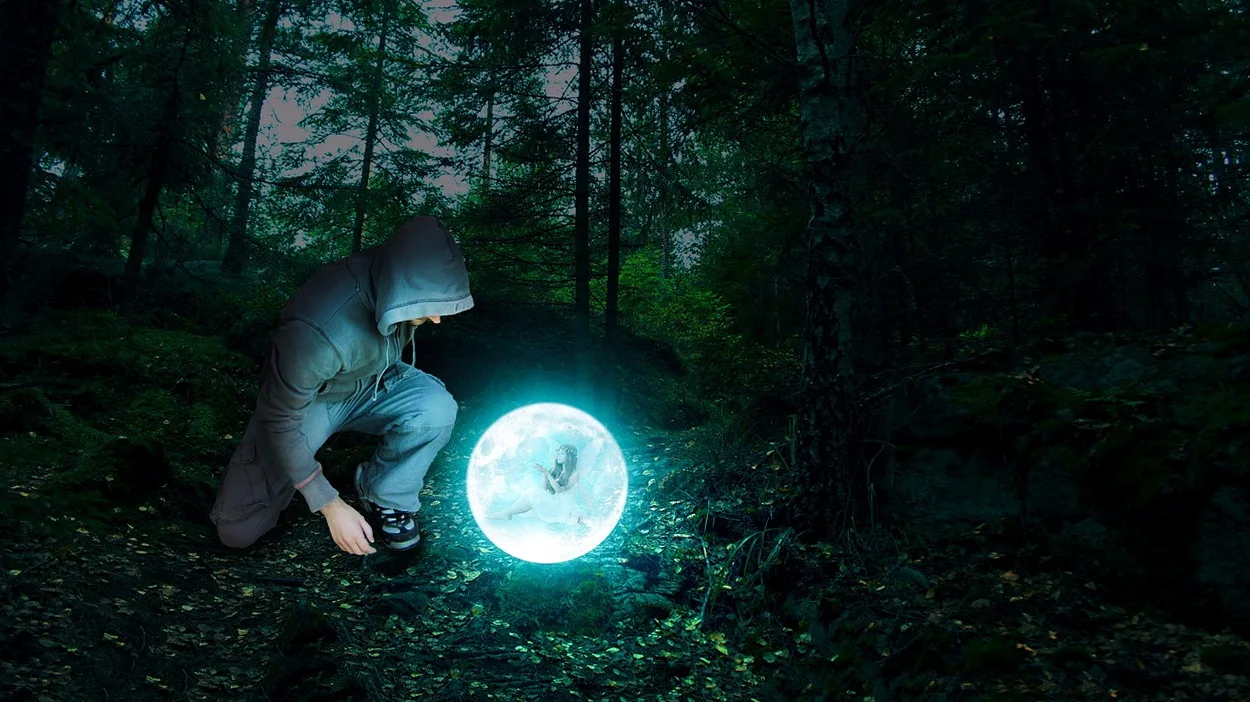
Here are some of the edits that were applied:
- Cropped and straightened the image to create a widescreen aspect ratio and a more dynamic composition
- Adjusted the exposure to create a dramatic contrast between light and dark areas
- Adjusted the color to create a teal and orange color scheme that is typical of Hollywood movies
- Added some vignetting and grain to create a film-like effect
Example 5: Vintage photo
Here is an example of a vintage photo before and after editing:
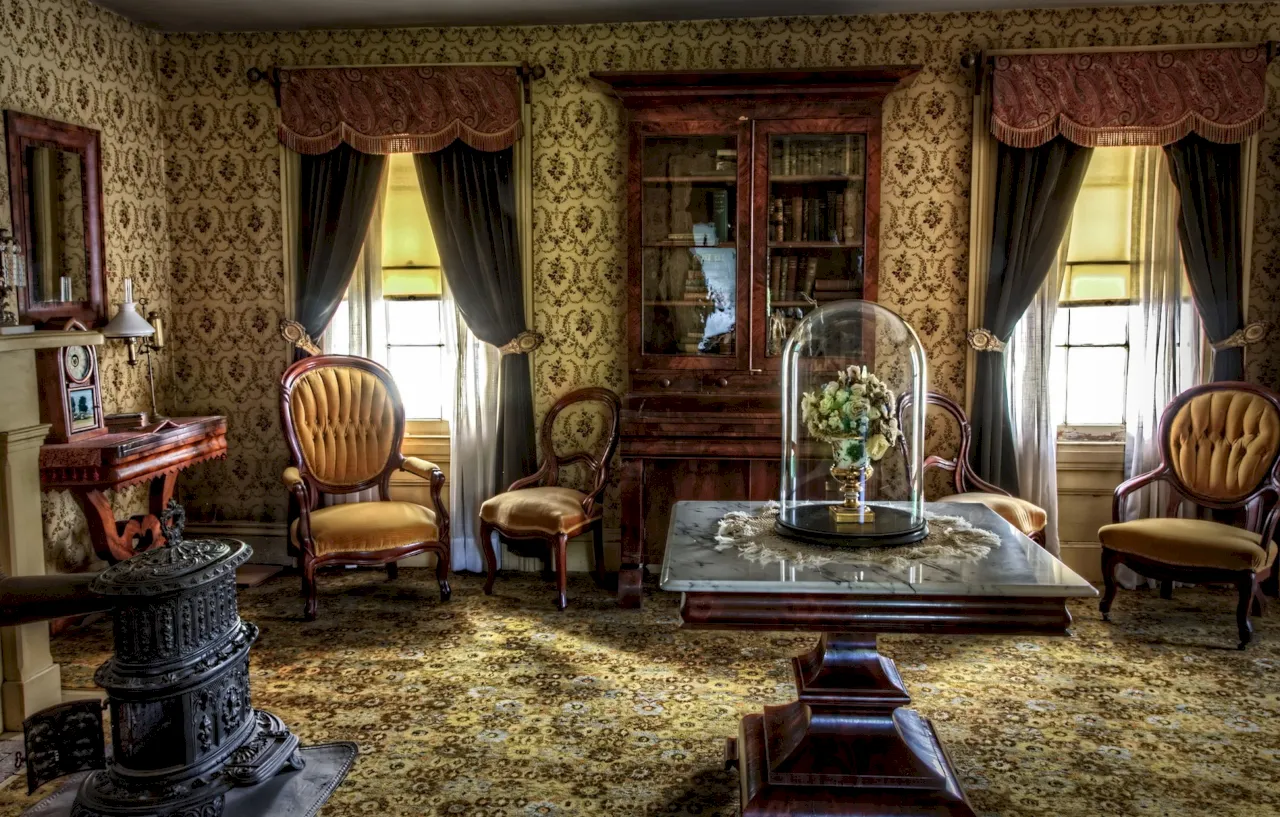
Here are some of the edits that were applied:
- Cropped and straightened the image to create a square aspect ratio and a more balanced composition
- Adjusted the exposure to create a faded and washed out look
- Adjusted the color to create a warm and nostalgic tone
- Added some scratches, dust, and light leaks to create an old-fashioned effect
Example 6: HDR photo
Here is an example of an HDR photo before and after editing:
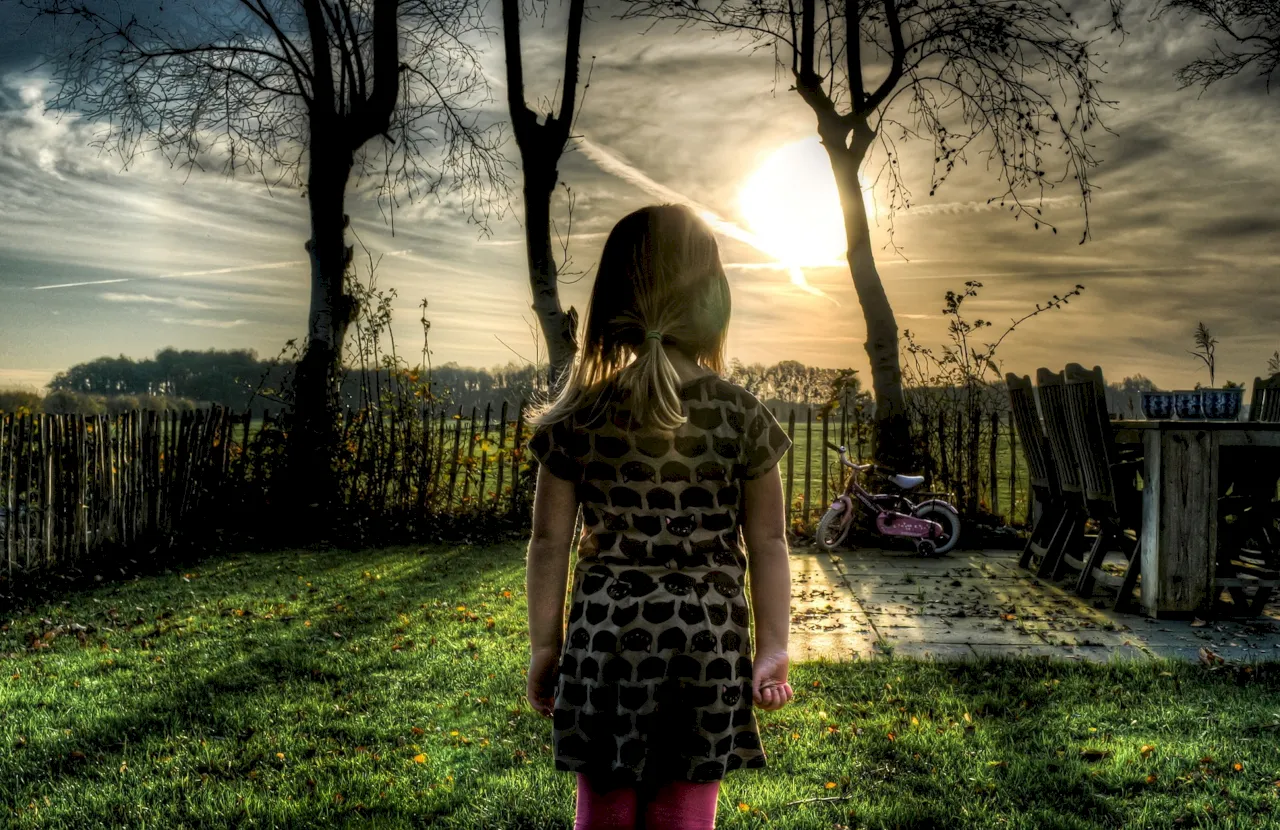
Here are some of the edits that were applied:
- Merged three different exposures of the same scene to create an HDR image
- Adjusted the exposure to bring out the details in both the highlights and the shadows
- Adjusted the color to make the colors more vivid and realistic
- Sharpened the image to make it more crisp and clear
I hope these examples give you some inspiration for your own photo editing. You can find more examples and tutorials online, or you can experiment with different tools and settings in your photo editing software. Have fun with your photos!😊
Conclusion
As you can see, editing your photos like a pro can make a huge difference in how they look and feel. By following these simple steps, you can use the best photo editing software to enhance your photos and make them stand out. Remember, there is no right or wrong way of editing your photos, as long as you are happy with the result. Experiment with different tools and settings, and have fun with your photos. You’ll be amazed by what you can create.👏